Lookup Contacts with Open Opportunities in Act!
![]() Did you know in Act! you can create groups based on opportunity field values ? For instance, Act! can help you find all contacts with open opportunities and make it a group.
Did you know in Act! you can create groups based on opportunity field values ? For instance, Act! can help you find all contacts with open opportunities and make it a group.
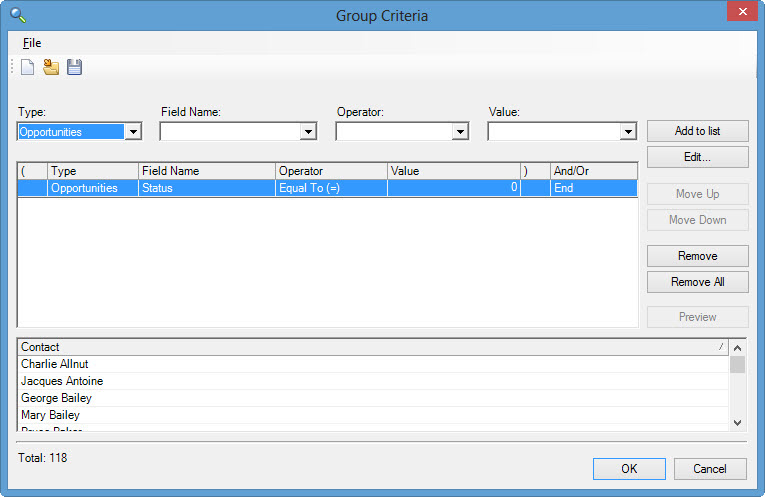
In Act! create a new group, click on Add/Remove Contacts -> Edit Criteria -> Change Type from Contact to Opportunity -> Field Name to "Status" -> Operator to "Equal to" -> Value to "0". Press Add to List to save that criterion. Press Preview and all the contacts list with open opportunities. Picture below.
Lookup Contacts with Open Opportunities
Here the codes for the other statuses
- Open = 0
- Closed - Won = 1
- Closed - Lost = 2
- Inactive = 3
Check out our complementary library of other Act! tips on YouTube.
History Fix for Act CRM
The easiest way to record a phone conversation in Act! is to lookup a contact record and press CTRL-H. But, it defaults to "Appointment Completed" in Act! 2011+. Most of my clients prefer "Call Completed", and there is no way to change this within Act!. This fix applies to Act! 2011, Act! 2012, Act! 2013, Act! v16 and Act! v17.
The solution is to download this free tool allows you to change the default setting from "Appointment Completed" to "Call Completed" or a customized entry for Act! 2011+.
Changing the Default History Settings in Act!
![]() The easiest way to record a phone conversation in Act! is to lookup a contact record and press CTRL-H. But, it defaults to "Appointment Completed" in Act! 2011+. Most of my clients prefer "Call Completed", and there is no way to change this within Act!.
The easiest way to record a phone conversation in Act! is to lookup a contact record and press CTRL-H. But, it defaults to "Appointment Completed" in Act! 2011+. Most of my clients prefer "Call Completed", and there is no way to change this within Act!.
The solution is to download this free tool allows you to change the default setting from "Appointment Completed" to "Call Completed" or a customized entry for Act! 2011+.
Attaching Documents to Act!
Did you know you have three different methods of managing documents with Act! ? Which one is the best ? Well, it depends.
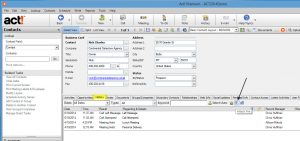
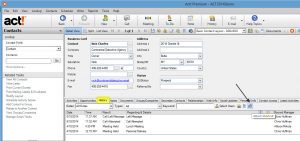
In Act!, press CTRL-I. The, you can attach a file to the current contact open in Act!. You can also go to the history tab and click the paper clip icon and attach either a shortcut (hyperlink) to a file or attach the whole file to Act!. Or, you can visit the documents tab and attach a document there also. Attaching the file actually copies the file from the original location to the Act! filing system, which is a best practice for remote synchronizing laptops.
The shortcut option creates a hyperlink (much like a website does) and the documents tab allows you to quickly e-mail that attachment to that contact record in Act!.
Create Contact Lookup from Opportunity
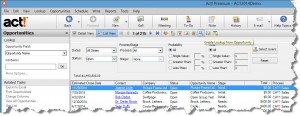
Did you know in Act! you can create lookups based on your current opportunity list ?

In Act! click on Opportunity List -> Filter the list as needed based on the options on the top half of the screen -> Click on the magnifying glass icon to the right of the record counter.


